Spent the Holy Week with some of my highschool friends in the Kansai region of Japan. We had a flexible itinerary which we adjusted each day; some based on our energy level, some upon spur of the moment 😁

Trip Itinerary
March 24: Osaka
- Arrive in Japan via KIX
- Lunch in Nishinari-ward
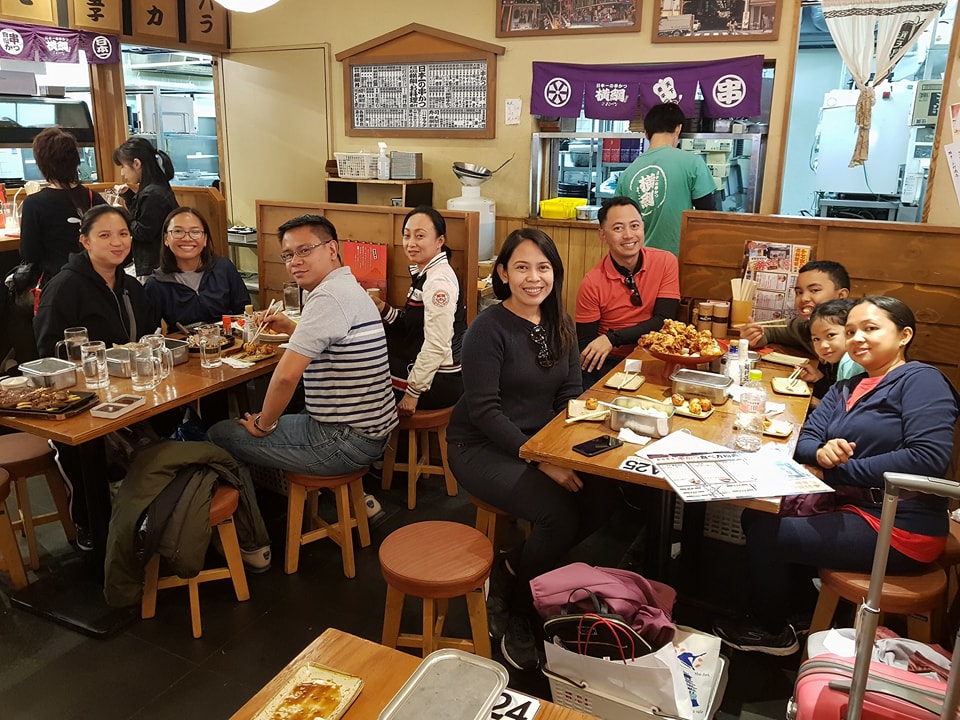
- Dinner in Shinsekai
March 25: Osaka
- Shopping in Shinsaibashi
- Lunch in Shinsekai
- Osaka Castle
- Dinner in Shinsekai
March 26: Kyoto
- Philosopher’s Path
- Lunch in Shinkyogoku
- Kiyomizu-dera Temple
- Ninenzaka Path
- Dinner in Gion
March 27: Nara
- Lunch in Nara
- Deer Park
- Todaiji Temple
- Shopping in Nara
- Dinner in Dotonbori
March 28: Kyoto
- Fushimi-Inari Temple
- Kinkaku-ji Temple (Golden Pavilion)
- Lunch in Gion
- Shopping in Shinkyogoku, Takashimaya
- Dinner in Gion
March 29: Kobe
- Lunch at Nankin-machi (Chinatown in Kobe)
- Mt. Rokko
- Dinner in Kobe
March 30: Osaka
- Universal Studios Japan
- Dinner in Dotonbori
March 31: Osaka
- Shopping in Shinsaibashi
- Shopping in Namba Parks
- Dinner in Namba Parks
April 1: Osaka
- Depart for the Philippines via KIX
I used Sygic Travel mobile app to manage our itinerary and move schedules around. The app also provides information about places to visit, hours of operation and entrance fees, if any.
Going Around Kansai
We used various passess and travel cards to get around.

Haruka and ICOCA
We used the “Haruka+ICOCA” set for a discounted ticket to the Kansai-Airport Express “HARUKA” (worth ¥1,400, but costs ¥1,100 with the set) which provides direct access from Kansai-airport Station to Tennoji, Shin-Osaka and Kyoto Stations.
Along with the set is an ICOCA card, which is a pre-charged integrated circuit card (worth ¥1,500, with ¥500 security deposit that can be refunded when you return the card) that can be used for JR, subways, private railways and city buses across Japan as long as it bears the IC or ICOCA icon. It can also be used for payment in convenient stores, shops and restaurants in train stations and at the airport.
The set is worth ¥3,100. Instead of the regular ICOCA card, we opted to get the Kansai One Pass which has the Astroboy design.

Picked up the actual Haruka tickets and IC cards at the JR ticket office outside the airport, near the entrance to the train platforms.
JR West Kansai Rail Pass
We used 1-day (P914) and 3-day (P2,276) JR Passes to get to Kyoto, Nara and Kobe from Osaka. We were supposed to do a non-consecutive day trip to Kyoto, hence, the separate 1-day pass, otherwise we could have gotten the 4-day pass. Bought both passes via Klook and picked up the passes at the H.I.S. Counter near Northern exit at the Arrival area in KIX airport.
Tip: Klook offers discounts and vouchers that you can use for future purchases (cheaper than buying directly from JR website or via travel agency). Also, you can use the voucher sent to the mobile app in picking up the actual passes (no printed copy needed).
Kyoto 1-Day Pass
Bought a 1-day pass (¥600) at the Kyoto Tourist Center to get around Kyoto via city buses on our first day trip.
Nara City Loop Buses
To get around Nara, we took the Nara City Loop buses from Nara JR station using ICOCA card for payment.
Taxis
The recommended taxis in Kyoto based on this blog are MK taxi and Yasaka taxi for the English speaking drivers. The same taxi companies probably operate in other cities, too. The flag down rate is cheaper, though, in Kyoto than in Osaka (¥590 vs ¥670); an additional ¥80 is charged for every 415 meters. For groups of 4 going on trips that are 4km or less away, it is best to take a taxi than a train or bus which costs ¥230 per person.
Navigation Tools
Used a mix of the following websites to know which trains/subways/buses to take:
- Hyperdia – for the actual train schedule and platform information for trains and subways (mobile app available)
- JR West website – use the online timetable and route finder for JR trains and buses
- Google Maps – for general information for trains, subways, buses and walking (mobile app available)
Osaka Abode
We opted to stay at a Ryokan style home via Airbnb. It gave us the full experience of living in Japan.

The space was good enough for 8 adults and 2 kids.

The place was pretty close to JR and Nankai train stations as well as Osaka subway stations (6-minute walk). There were 24-hour convenience stores (Lawson and Family Mart) and supermarkets nearby.
Osaka
Shinsekai Area
Our default place for lunch and dinner in Osaka was Shinsekai which was 15 minutes away on foot from our airbnb place. It is also where the Tsutenkaku Tower and Spa World are located, but we did not get to enter both.


Osaka Castle
One of the main attractions in Osaka is the castle, which also has hundreds of cherry blossom trees around.


Universal Studios Japan (USJ)
One of the few Universal Studios theme parks with a Harry Potter area. A recent addition was the Minion Mayhem Park, which lives up to its name.


Namba: Shinsaibashi and Dotonbori
Namba is a great place for shopping with its long line-up of stores, restaurants and gift shops. There were only a few Money Changers in the area and not all accept credit card for payment; it is best to have some yen ready when you go there.
Be sure to check if store offers tax free payment so you can get a refund. It is only available to shoppers with foreign passports and landing permission stamp.


We also discovered some great restaurants near Namba Parks.
")
")

Kyoto
Kyoto has more sighseeing places with all its temples and castles that are among Unesco’s World Heritage list.
Kiyomizu-dera Temple
You need to get a ticket worth ¥400 to enter. Some cherry trees have not blossomed yet when we visited and the viewing deck was under construction. It did not stop the throng of tourists, though, from visiting it.


From the temple, we strolled through Ninenzaka Path. This area has more preserved streets and traditional shops selling all kinds of local foods, crafts and souvenirs.


Fushimi-Inari
Fushimi-Inari is known for its 10,000 torii gates and 12,000 steps. Our group took on the challenge and completed the climb to the peak of Mt. Inari. You can see a view of Kyoto from the summit.


Kinkaku-ji Temple
This temple is also known as the Golden Pavilion.

Nijo Castle
Unfortunately, we had to skip Nijo Castle because of the very long line at the ticket counter. We were only able to take a picture at the gate.

Philosopher’s Path
The cherry trees were not yet in full bloom when we visited, but they provided a pretty scenery nevertheless.


Gion


Shinkyogoku and Nishiki Market
We did a little bit of shopping for gifts – Japanese dolls and match-flavored Kitkats – since they were relatively cheaper in this area. We had lunch at Ichiran Ramen, which apparently is the best ramen in the world. We opted for their default set since we had a hard time figuring out how to order through their vendo machine 🙂
Nara
Deer Park
We were greeted by deers as soon as we got off the bus. We thought it would be cool to feed the deers and have pictures with them. What we did not expect was their aggressiveness in ‘asking’ for food once they realized you have deer food (bought from vendors in the area) – at least two bit me in the butt and leg (proof below).


Todaiji Temple
Just a few meters from the bus station is the impressive gate to Todaiji temple.

Inside the big gate, you will have to get a ticket (¥800) to enter another gate to the Buddha Hall.


Kobe
Instead of another day in Kyoto, we decided to go to Kobe to get a taste of their… kobe beef!
Nankin-machi
One of the areas to get a taste of kobe beef without breaking the bank is at Kobe Chinatown.


Mt. Rokko
We initially thought of just strolling around the city area after lunch. Then, we came across an article about Mt. Rokko and the cable ride to get there. So, there we went.


Helpful Tips
Pocket WiFi
- There are units that can be rented at the KIX airport. However, you might need to fall in line and per day rental might be a bit more expensive.
- You can rent units via Flytpack. For Japan, it only costs P285 per day. A security deposit of P1,800 is required; it will be refunded fully once unit is returned.
- Check for promos from affiliated credit card companies. I used Citibank’s promo code LOVE2CLICK, valid for Citi Visa cardholders, for a 12% discount in the daily rental.
- Book at least 2 weeks in advance since delivery takes 5-10 days. You can follow up with Flytpack via Messenger; they are responsive.
Yen
- It is best to have some yen exchanged in Manila prior to the trip.
- According to this blog, Sanry’s in Robinsons Galleria has the best rates. Note that the rates mentioned are from 2015. Check BSP for the current exchange rates.
- Based on our same day experience, we did get better rates at Sanry’s (Robinsons Pioneer) at P 0.4950 per ¥1, than at NAIA T3 at P 0.52. I was not able to check rates at KIX, but money changers near shopping districts had exchange rates of P0.56 to ¥1 or ¥1.79 to P1.
- For our 9-day trip, we bought ¥50,000. Taxis, most restaurants and small shops only accept cash payments.
Tax Free Shopping
- Here are some tips/reminders for tax free shopping. Make sure you always have your passport with you and that you have a landing permission stamp with a temporary visitor status to be qualified.
JR Passes, IC Cards, USJ
- As mentioned above, we bought the passes via Klook at better rates. Affiliate credit cards such as Metrobank and Citibank offer discounts if you book using your credit card.
- For JR and ICOCA, the vouchers will be sent to your email and to your mobile app (under Bookings). Note that children 5 years old and below are free. Children 6 to 11 years old are usually half the price. The vouchers will have to exchanged for the actual pass at H.I.S. Counter near the Northern exit at the Arrival area.
- The Haruka+ICOCA set is not available, though, in Klook and will have to be reserved via JR West website. Print the reservation email and present it at the JR Ticket Office in KIX. You can only reserve up to 6 people per email. Use another email address if there is more than 6 people in uour group. Payment is cash only, ¥3,100 per person.
- For USJ, you will get the actual eticket which will be scanned at USJ gate. It is valid for entry for 1 year upon booking. For children below 11 years old, rate is discounted.
English-speaking Japanese
- Very few could understand and speak English. And for those few, their vocabulary is limited.
- We used Google Translate a lot to communicate.
- In one case, we were denied entry at a restaurant in Gion since no one spoke English at the restaurant.
Tips
- Giving tips is looked down upon in Japan. It is even considered rude when you give someone a tip.
Travel Insurance
- Medical care is quite expensive in Japan. For unforeseen medical or emergency needs, it is best to have insurance ready. We only paid P920 for the travel insurance we got through Standard Insurance Co.
Wheelchair Accessible Station Guide
- This link might be useful for those traveling with disability: Japan Accessible.
